
Once you’ve understood the basic rules of prompts, the next step is being able to design your own prompts.
You can’t make exactly the image you want just by copy-pasting other people’s prompts. This article explains the thinking process for stepping up from “copying” to “creating.”
Step 1: Decompose Your Target Image into 5 Elements
Before writing a prompt, decompose the image you want to generate into 5 elements.
| Element | Question | Example description in prompt |
|---|---|---|
| Subject | What / who to depict? | a Japanese woman in her 20s, long black hair |
| Composition | What angle and distance? | portrait, close-up, from above |
| Environment | Where? What background? | in a modern cafe, near the window |
| Lighting | What kind of light? | warm afternoon sunlight, soft shadows |
| Technical settings | Camera, lens, art style? | 85mm lens, shallow depth of field, professional photography |
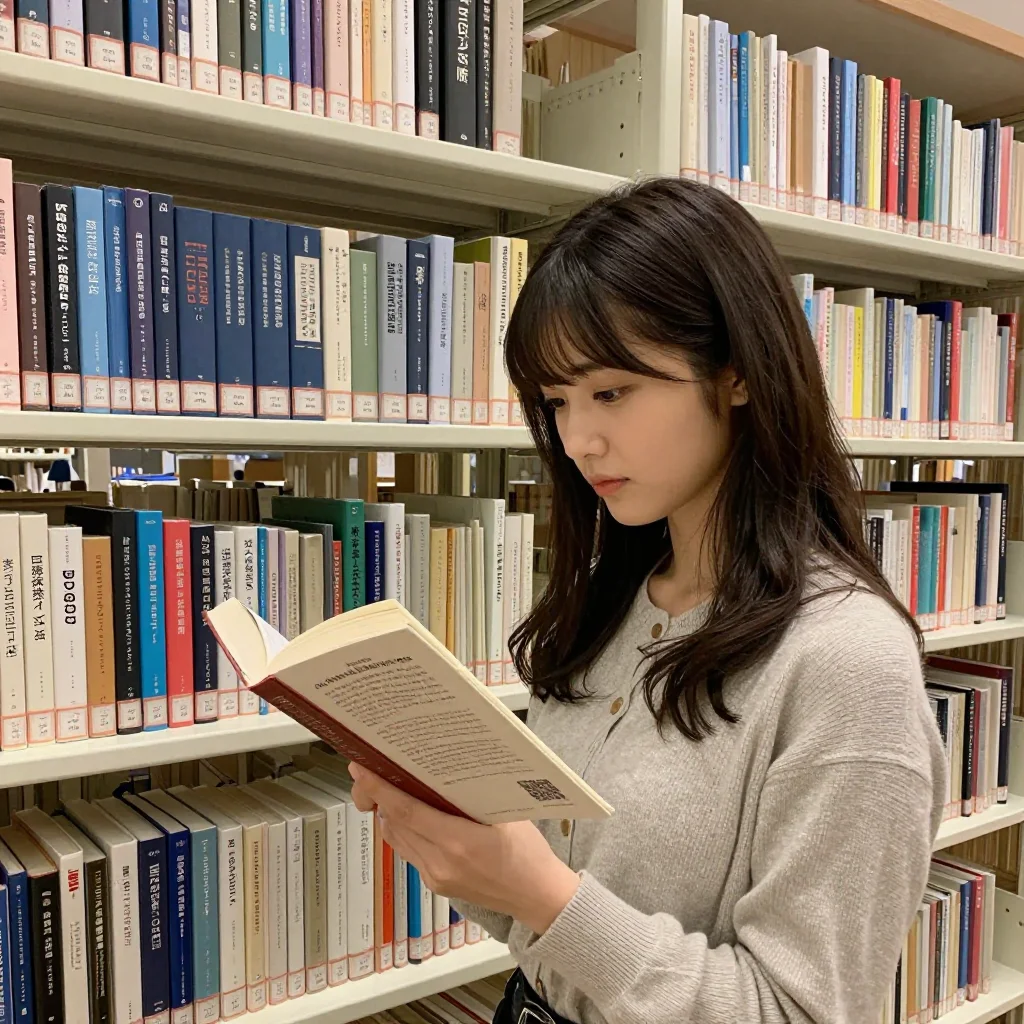
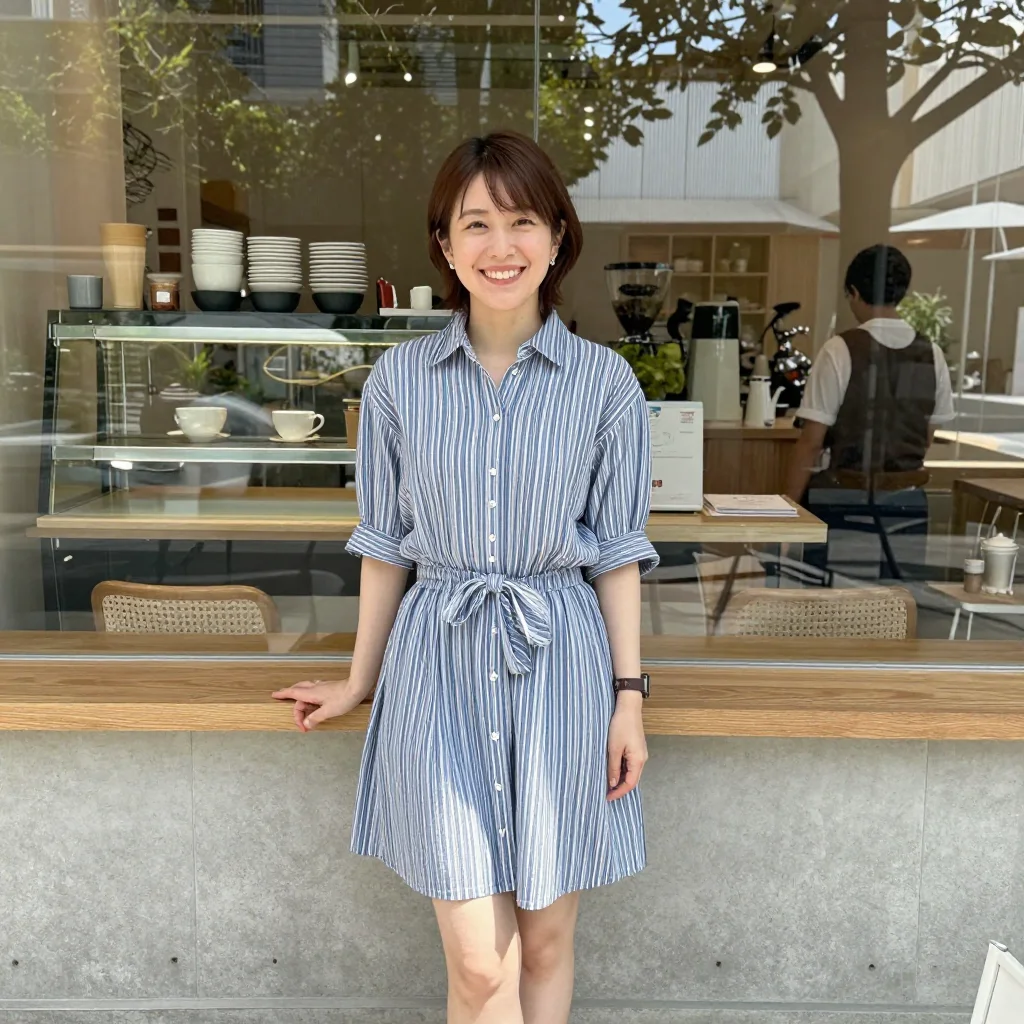
Practice: Decomposing “A Japanese woman in a cafe”
Mental image: A Japanese woman in her 20s at a cafe window seat, bathed in afternoon sunlight. Natural, smiling.
| Element | Decomposition result |
|---|---|
| Subject | Japanese woman in her 20s, long black hair, white blouse, soft smile |
| Composition | Bust-up portrait |
| Environment | Modern cafe, window seat |
| Lighting | Natural afternoon light, light from window |
| Technical settings | 85mm lens, background blur, professional photo style |
Converting this to a prompt:
Step 2: “Read” Existing Prompts
When you see someone else’s prompt, instead of copy-pasting mindlessly, understand the role of each element.
Reading practice
Let’s decompose the following prompt into 5 elements:
cinematic photo of a beautiful Japanese woman walking through a neon-lit street in Shibuya at night, wearing a black leather jacket, rain-soaked road reflections, dramatic lighting, shot on Sony A7III, 35mm wide angle lens, high contrast
| Element | Corresponding part |
|---|---|
| Subject | a beautiful Japanese woman, wearing a black leather jacket |
| Composition | walking through (moving composition) |
| Environment | a neon-lit street in Shibuya at night, rain-soaked road reflections |
| Lighting | dramatic lighting, neon light (included in environment) |
| Technical settings | cinematic photo, shot on Sony A7III, 35mm wide angle lens, high contrast |
By decomposing like this, you can understand why this prompt generates this image.
Once Decomposed, Try Modifying
Change just one element and check the effect:
- Change the environment:
Shibuya at night→a quiet garden in Kyoto during autumn - Change the lighting:
dramatic lighting→soft golden hour lighting - Change the technical settings:
35mm wide angle lens→85mm portrait lens
Step 3: Change One Element at a Time and Observe the Effect
If you change everything at once, you won’t know what worked and what didn’t. Changing one variable at a time, like a scientific experiment, is the fastest path to improvement.
Experimental procedure
- Decide on a base prompt
- Change only one thing and generate
- Compare results and confirm the effect of the change
- Move on to the next element
Example experiment: Comparing lighting effects
Base prompt (everything except lighting is fixed):
portrait of a Japanese woman in her 20s, long black hair, wearing a white dress, standing in a park, [LIGHTING], shallow depth of field, 85mm lens
| Experiment | Lighting part | Expected effect |
|---|---|---|
| A | natural daylight | Uniform and bright |
| B | golden hour lighting | Warm, soft light |
| C | overcast sky, soft diffused light | Shadow-free, even light |
| D | dramatic side lighting | Strong shadow contrast |
| E | backlit, rim lighting | Glowing subject outline |
Using the same seed value allows you to compare while controlling for everything except lighting.
Step 4: Think About “What’s Missing”
When the generated image differs from your ideal, think about what to add to the prompt.
Common gaps and solutions
| Difference from ideal | Cause | Solution |
|---|---|---|
| Subject is too small | Insufficient composition specification | Add close-up, portrait |
| Background is cluttered | Vague background specification | Add clean background, simple background |
| Lighting is flat | No lighting specification | Add specific lighting |
| Quality is low | Insufficient quality instructions | Add professional photography, high quality |
| Not realistic enough | Insufficient technical terms | Add camera and lens terms |
| Unwanted elements appear | Insufficient negative prompt (※ negative prompts do not function in z-image-turbo at CFG=1.0) | Adjust negative prompt |
Think About “What’s Extra”
Conversely, when the prompt is too long, elements may interfere with each other.
- Are there contradictory instructions? (e.g., coexistence of
natural lightingandneon lights) - Are there redundant overlaps? (e.g.,
beautifulandprettyandgorgeous) - Does it exceed the 75-token limit?
Deleting unnecessary elements often improves the image.
Step 5: The Prompt Improvement Cycle
Ultimately, once you can run the following cycle, you can “operate on your own.”
1. Decompose target image into 5 elements
       ↓
2. Convert to prompt
       ↓
3. Generate and check results
       ↓
4. Identify gap from ideal
       ↓
5. Modify one element and regenerate
       ↓
Return to 3
z-image-turbo (1 image in 3–5 seconds) — which runs this cycle at high speed — is ideal for practicing prompt design.
Practical Exercise: Build a Prompt from Scratch
Assignment: “A woman having a picnic in a spring park”
First, try decomposing into 5 elements:
| Element | Your decomposition |
|---|---|
| Subject | ? |
| Composition | ? |
| Environment | ? |
| Lighting | ? |
| Technical settings | ? |
Sample Answer
Decomposition:
- Subject: Japanese woman in her 20s, casual spring outfit, coffee cup, relaxed smile
- Composition: Sitting (medium shot)
- Environment: Cherry blossom park, picnic blanket, falling petals
- Lighting: Warm spring sunlight
- Technical settings: 85mm lens, background blur, natural photo style
Summary
The 5 steps of prompt design:
- Decompose: Break the target image into 5 elements (subject/composition/environment/lighting/technical)
- Read: Analyze other people’s prompts using the 5 elements
- Experiment: Change one element at a time and observe the effect
- Diagnose: Determine “what’s missing” and “what’s extra”
- Iterate: Run the improvement cycle
Related Articles
⚠ 関連記事が見つかりません: /en/tips/prompt-basics
⚠ 関連記事が見つかりません: /en/tips/negative-prompt-guide
⚠ 関連記事が見つかりません: /en/prompts/portrait-prompts
⚠ 関連記事が見つかりません: /en/tutorials/z-image-turbo-comfyui-workflow
![[Tested] Can You Generate Kuchisake-onna? Mask On/Off Pairs and 3 Slit-Mouth Phrasings on the Same Seed](/tips/kuchisake-onna-mask-expression-test/c01_lacer_s1.webp)
![[Tested] Can You Generate Yuki-onna? Pale Skin, Visible Cold Breath, and a Loosened White Juban](/tips/yuki-onna-pale-skin-test/b01_juban_s2.webp)
![[Tested] Can You Generate a Hachishaku-sama-Style Tall Woman? Testing extremely tall, 8 feet tall, and Low Angle](/tips/hachishaku-sama-height-test/c04_minireal_s2.webp)
![[Tested] 15 Ero-Horror Combo Recipes — Do the Best Elements From 5 Articles Stack?](/tips/horror-combo-recipes/c11_vampire_candle_s1.webp)